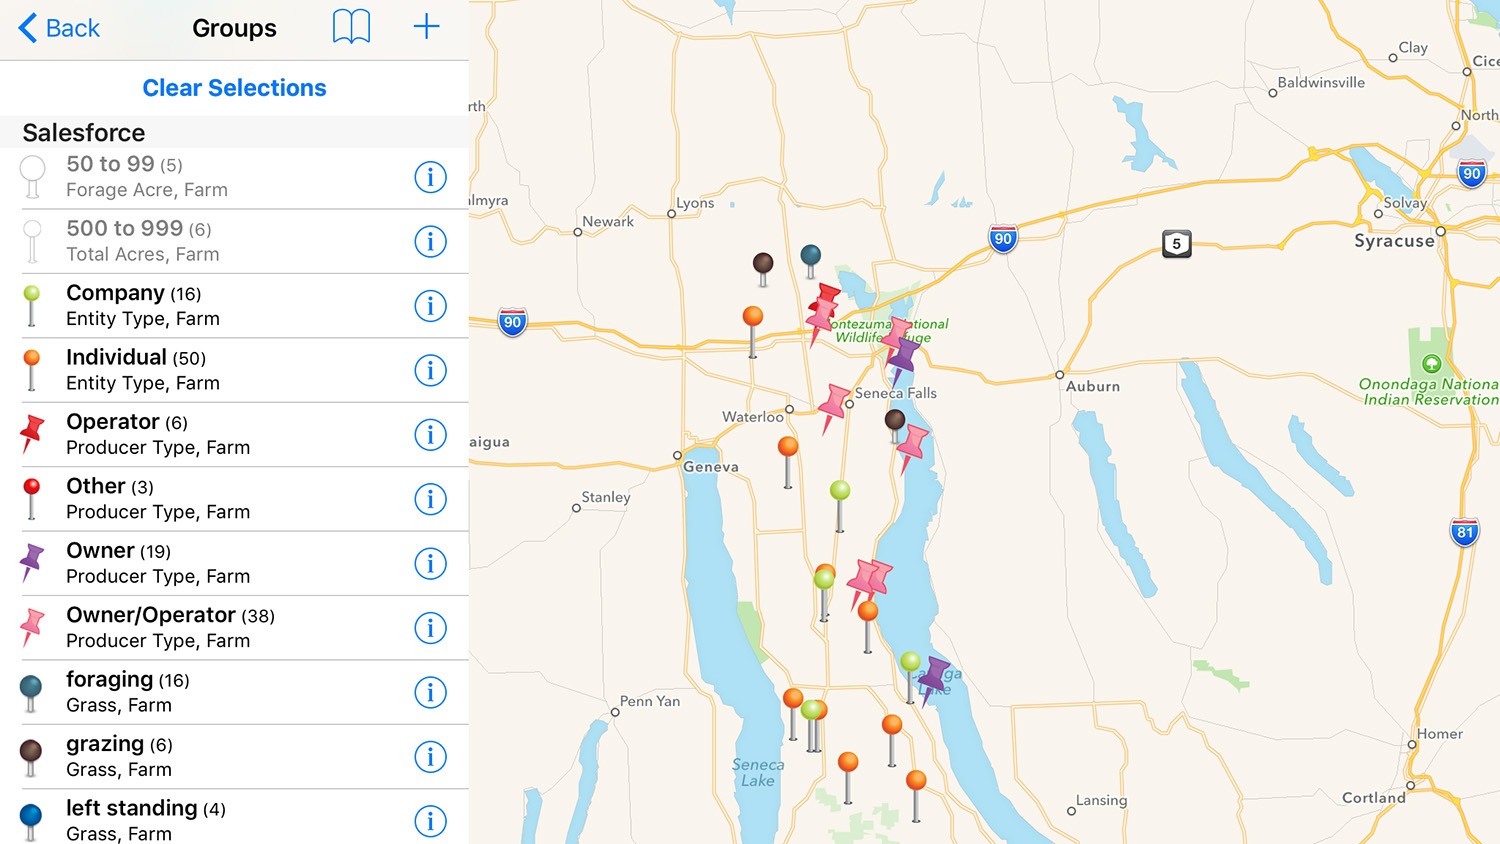
Sales Navigator for Salesforce offers basic and advanced filtering options to help you target specific Salesforce data geographically. You can create filters to view on the map such as, ‘Accounts’ that are ‘Hot’ and ‘Warm’ or ‘Accounts’ with an ‘Open Opportunity’.
- Basic Group Filtering
- Advanced Group Filtering
- Bookmark Group Filters
Basic Group Filtering
View specific groups on the map with basic group filtering. Turn groups on/off by tapping the group name. Groups not displayed on the map are grayed out, maps displayed on the map are in full color.
Advanced Group Filtering
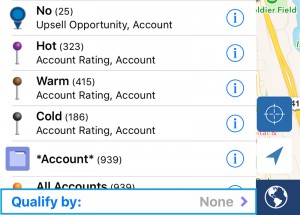
To use Sales Navigator’s advanced filtering capabilities, tap the ‘Qualify by’ area at the bottom of the ‘Groups’ window. Here you will be able to create data filters based off groups created in Sales Navigator.
In the filtering menu, you will now see groups generated by Salesforce fields. Choose a field, then tap ‘Require’ or ‘Exclude’ to either add or exclude that criteria from the filter. In this example, you will be able to see all of your ‘Accounts’ on the map that have an ‘Upsell’ opportunity and are not ‘Low Priority’.
What is Require v. Exclude?
Require
Require is considered like the function in a search query. Example: I want to see all my accounts with Rating:Hot AND Company Size:Large.
Exclude
Exclude is considered like the ‘NOT’ function in a search query. Example: I want to see all my accounts NOT Company Size: Small.
Bookmarking Group Filters
Once you create a filter you can bookmark that filter to easily apply it to any data you import. In order to bookmark the filter, you can tap the bookmark icon ( ![]() ) in the top right hand corner. Next, you can tap ‘Add Bookmark’, give the bookmark a name and tap ‘Save’. Now, you will see the filter and can easily tap it to apply it to your data.
) in the top right hand corner. Next, you can tap ‘Add Bookmark’, give the bookmark a name and tap ‘Save’. Now, you will see the filter and can easily tap it to apply it to your data.
Thank you for using Sales Navigator for Salesforce! Please contact us with any questions or feedback.


